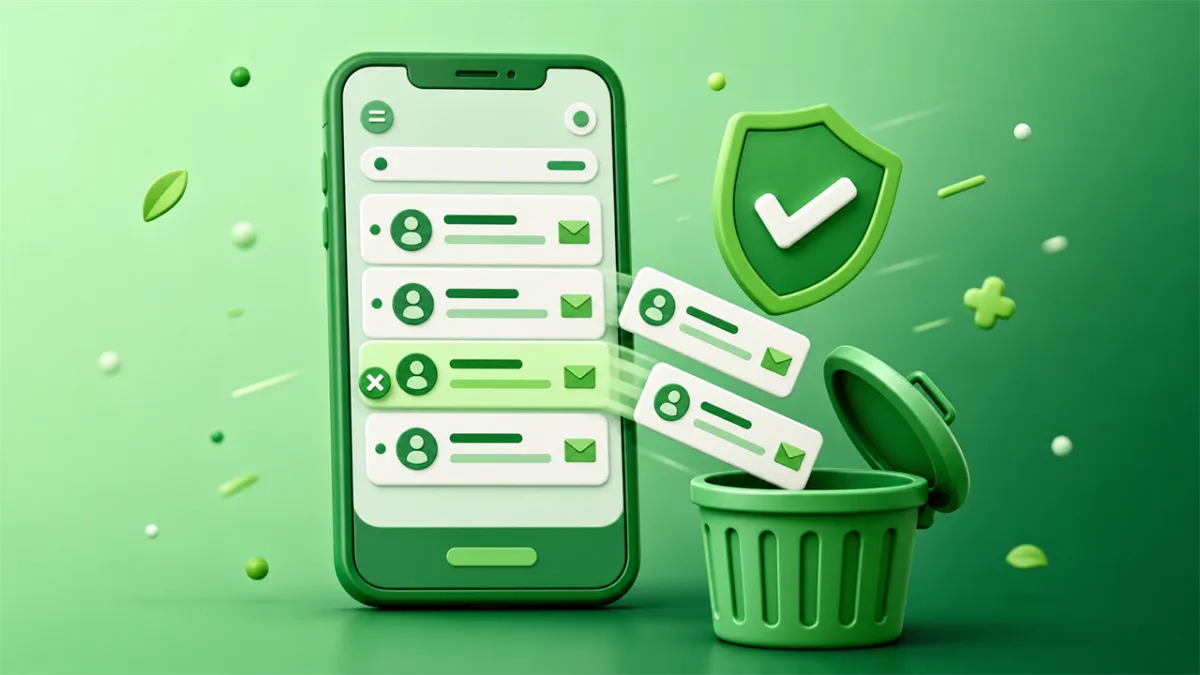
To block spam emails on iPhone, open the message in Mail, tap the sender's name, tap View Contact Card, then tap Block this Contact. Then go to Settings > Apps > Mail > Blocked Sender Options and choose Move to Trash. Skip that second part and blocked mail keeps landing in your inbox, just with a small icon next to it.
That setting is why most people think blocking on iPhone is broken. It isn't broken. It's set to filing rather than removing, and Apple never tells you at the moment you tap Block.
The bigger issue is that blocking is per address, and spam operations rotate addresses faster than you can tap. Which is why we built SecondInbox: a free temporary inbox in one click, no registration, permanently deleted when it expires. Use it for the free trial, the store loyalty signup, the app you'll open twice, the PDF that wants an email first. If the sender never gets your real address, there's nothing to block six months from now.
Below: the exact taps for Apple Mail on iOS 26, why blocking in the Gmail app does something completely different, and the two iPhone features that outperform the Block button.
Change this setting before you block anything
Open Settings > Apps > Mail > Blocked Sender Options. You get two choices:
- Mark as Blocked, Leave in Inbox puts a small icon beside the message and does nothing else. The mail is still there. Still unread. Still in your notification count.
- Move to Trash does what you assumed Block already did.
Pick Move to Trash. Then every block you've ever tapped starts working retroactively for new mail, including the ones you tapped two years ago and assumed had failed.
On iOS 17 and earlier the path is Settings > Mail > Blocked Sender Options, without the Apps layer. Apple moved app settings under Apps in iOS 18, so most older guides still send you to a menu that no longer exists at that path.
One caution before you switch: Move to Trash is silent. If you ever block a sender you later need something from, a shipping notice or a password reset, it goes to Trash and you won't see it. Check Trash before you panic about a missing email.
How to block spam emails on iPhone in Apple Mail
With the setting sorted, the block itself takes about five seconds.
- Open the message in Mail.
- Tap the sender's name or address at the top of the message.
- Tap View Contact Card.
- Tap Block this Contact.
- Confirm with Block Contact.
iOS 26 added that confirmation step, which is new. If you learned this flow a few years ago and it now feels like it takes an extra tap, that's why.
To see everything you've blocked, or to add an address without waiting for mail to arrive from it: Settings > Apps > Mail > Blocked. Tap Add Blocked Contact to add one manually. Swipe left on any entry and tap Unblock to reverse it.
Worth knowing what this block actually is. It's an entry on a list your iPhone checks, tied to your Apple Account. The sender gets no bounce, no error, and no signal that anything changed. Their mail still arrives at your mail provider perfectly successfully. Your phone just decides where to put it.
Blocking spam emails in the Gmail or Outlook app is a different thing
This trips up a lot of people, and it matters more than it sounds.
If you read mail in the Gmail app on your iPhone, Apple Mail's block list is irrelevant to you. You're blocking on Google's side: open the message, tap the three-dot menu beside the sender, tap Block [sender]. There's a Report spam option in the same menu, and that one is worth more, for reasons in the next section.
Outlook on iOS is the same story: the block lives in your Microsoft account, not your phone. Note that Outlook caps blocked senders at 1,024, and when the list fills up, new entries fail silently. If your Outlook blocks quietly stopped working years ago, check whether you're at the ceiling.
Yahoo Mail on iOS handles blocking through account settings rather than the app's message view, and its list is smaller than Outlook's. Lean on filters instead once you're past a handful of senders.
The practical version: a block set in Apple Mail follows your Apple Account across your iPhone, iPad, and Mac, but does nothing when you check the same mailbox in a browser or a different app. A block set in Gmail or Outlook follows the mailbox everywhere, including Apple Mail. If you use both, block on the provider's side.
Junk does more work than Block does
Apple's junk filter learns. The block list doesn't.
Swipe left on a message, tap More, then tap Move to Junk. On an iCloud address, that action feeds Apple's spam classifier and changes how it treats that sender for your account going forward, which is a per sender rule you didn't have to write. Apple documents the behaviour in Report and reduce spam in iCloud Mail. Moving something out of Junk back to your Inbox trains it in the other direction just as well.
So the rough division of labour:
- Move to Junk for anything genuinely unsolicited. It's the only action here that improves over time.
- Block for a single persistent nuisance, especially one that keeps mailing from the same address.
- Report spam (in the Gmail or Outlook apps) for bulk senders. Google requires anyone sending more than 5,000 messages a day to Gmail addresses to keep their spam complaint rate under 0.10%. Enough reports and they get throttled across every inbox on the platform, not just yours.
Blocking is the only one of the three that costs the sender absolutely nothing.
Use Categories and the unsubscribe banner for mail you did sign up for
A large share of what people call spam isn't spam. It's a store you bought socks from in 2023 emailing you four times a week. Blocking that is overkill and Junk is the wrong label for it.
Two iPhone features handle it better:
Categories, added in iOS 18.2, sorts incoming mail into Primary, Transactions, Updates, and Promotions (Apple's guide). Marketing mail lands in Promotions and out of your way without you touching a block list. If a sender gets miscategorised, long press the message and pick a different category to correct it.
The unsubscribe banner appears at the top of recognised marketing mail in Mail, so you don't have to hunt for tiny grey text at the bottom.
One hard rule though. Only use unsubscribe on mail you actually signed up for. Clicking unsubscribe on genuine spam confirms your address is live and read by a human, which is the single most valuable thing you can hand a spam operation. Same reasoning we covered in why you shouldn't unsubscribe from newsletters you never signed up for. If you don't remember ever giving them your address, Junk it instead.
Hide My Email just got easier for websites to block
Every iPhone spam guide recommends Hide My Email, usually without the caveats. Here are the caveats.
It needs iCloud+, starting at $0.99 a month. The free thing people confuse it with is the Sign in with Apple relay, which only exists on sites offering the Sign in with Apple button, gives you one address per site, and lets you reply but not compose. You can't spin one up for a random signup form.
And the domain is changing. In June 2026 Apple announced it's consolidating Hide My Email onto a dedicated private.icloud.com domain, moving off the shared icloud.com and privaterelay.appleid.com addresses it used before. Existing addresses keep working and mail keeps forwarding. But the reason the old setup was hard for websites to block was precisely that it shared a domain with ordinary iCloud users, so rejecting aliases meant rejecting real customers too. A dedicated domain removes that problem for them. Expect more signup forms to start rejecting Hide My Email addresses once the migration finishes.
That's not a reason to avoid it. Aliases forward to your real inbox and live indefinitely, which makes them genuinely better than a disposable address for anything you need long term. It's a reason to know which tool you're holding. We broke the two models down in temporary email vs alias forwarding.
The fix blocking can't do: stop handing over your real address
You can't unblock your way out of an address that's already been sold. Blocking, junking and unsubscribing all treat an address that's already circulating. None of them stop the next signup from adding you to another list.
The habit that works is boring and it's the only one that compounds: keep your real address for the short list of things you'd hate to lose, and use a disposable one for everything else.
A disposable inbox is a real inbox with an expiry date. You get an address instantly, receive the confirmation mail, tap the verification link, and walk away. When it expires, the contents are deleted from the server. If that address turns up on a resold list in 2029, there's nothing at the other end.
The honest limits, because this isn't magic:
- Some sites reject known disposable domains at signup. Banks and the big platforms usually do. If you need the account long term, use your real address.
- The inbox has to outlive the verification email. Ten-minute services get tight when a confirmation takes twelve, which is why one click extends a SecondInbox inbox instead of making you start over.
- Never use a disposable address for anything you'll need to recover. No password reset survives an expired inbox.
Which is the whole case for SecondInbox. One tap in Safari, an inbox, no account, no personal details, everything deleted from our servers when it expires. Register free if you'd rather keep several addresses across sessions. If most of your spam traces back to free trials and one off signups, changing that single habit does more over six months than every Block button on the phone. For the desktop clients and domain level filtering, we covered the general case in how to block spam emails.
No. Their mail still reaches your provider normally. Blocking only tells your iPhone where to file it, and by default it files it right back into your inbox with a small icon. Change Settings > Apps > Mail > Blocked Sender Options to Move to Trash for the behaviour you actually wanted.
Settings > Apps > Mail > Blocked. You can add addresses there directly with Add Blocked Contact, and swipe left on any entry to unblock it. On iOS 17 and earlier it's Settings > Mail > Blocked.
Usually your address surfaced in a breach or a company you signed up with sold its list, and it's now circulating between buyers. Check haveibeenpwned.com. A sudden jump from senders you've never heard of is the tell, and no amount of blocking pulls the address back off those lists.
For iCloud addresses, yes. Apple filters obvious spam into Junk automatically and learns from every Move to Junk and Not Junk you tap. For Gmail, Outlook or Yahoo accounts, the filtering happens on their servers before it ever reaches your phone.
For a few months. If you use the new address the way you used the old one, it ends up on the same lists. The habit matters more than the address: route new signups to a disposable inbox and keep the real one small.
The take
Fix the Blocked Sender Options setting first. Everything else you do with the Block button is theatre until Move to Trash is selected, and there's a decent chance that single change fixes a problem you've blamed on Apple for years.
After that, stop reaching for Block. Move to Junk trains a filter that keeps working while you sleep. Blocking maintains a list by hand against senders who generate new addresses for free.
And then fix the intake. Every address you type into a signup form is a spam problem on a delay fuse. Type one you don't mind losing.
Keep reading
How to Block Spam Emails (And Why Blocking Isn't Enough)
Blocking a sender stops one address, not the spam. How to block spam emails in Gmail, Outlook and Yahoo, and what to do when blocking stops working.
What Is an Email Alias? How They Work and When to Use One
An email alias is a second address delivering to a mailbox you already own. Three setups go by the name. Here's how each works, and when to skip one.